
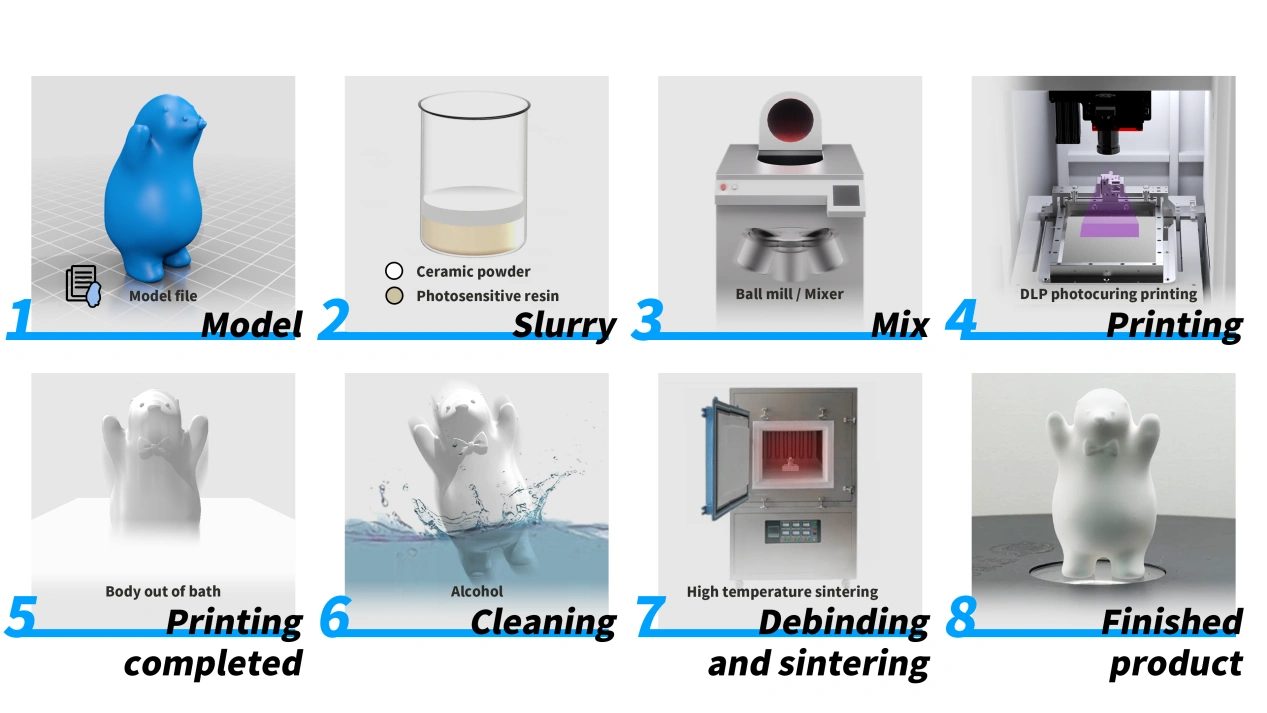
"Wait, you can 3D print ceramics?!"—This is the reaction we hear all the time when showcasing our ceramic 3D printed pieces at exhibitions and trade shows. Ceramic 3D Printing is an exciting technology, and today, we’re pulling back the curtain to reveal its secrets.
Materials: It All Starts with Ceramic Slurry
When people think of 3D printing, they often picture plastic filament. But the world of 3D printing goes far beyond that—some processes use liquids, while others rely on powders. At Adventure Technology (ADT), our ceramic 3D printers start with a specially formulated ceramic slurry.
The Ceramic 3D Printing Process: A Symphony of Precision
With the rapid evolution of additive manufacturing, 3D printing has found applications across numerous industries. One of the most advanced techniques is DLP (Digital Light Processing) ceramic 3D printing, which ADT utilizes to create high-precision ceramic parts.
DLP ceramic 3D printing is a high-resolution process that projects digital light onto a photosensitive ceramic slurry, solidifying it layer by layer. By mixing ceramic powders with photopolymer resins, this technique produces intricate and finely detailed ceramic components with outstanding precision and efficiency.
Step-by-Step Guide to Ceramic 3D Printing
1. Model Design
It all starts with a 3D model. Using professional CAD software like SolidWorks or Rhino, you design a digital geometric model of the desired product.
Once completed, the model is imported into our printing software, where print parameters are configured.
2. Slicing the Model
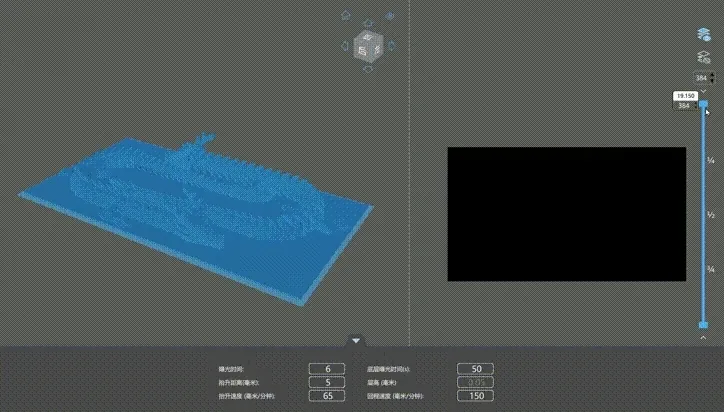
Next, the model is processed using slicing software (e.g., CHITUBOX). This software converts the 3D model into multiple 2D cross-sectional layers for the printer to build up layer by layer. At this stage, we fine-tune key printing parameters such as exposure time, layer thickness, and light intensity to optimize print quality.
3. Preparing the Slurry
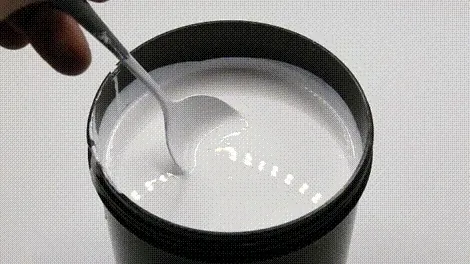
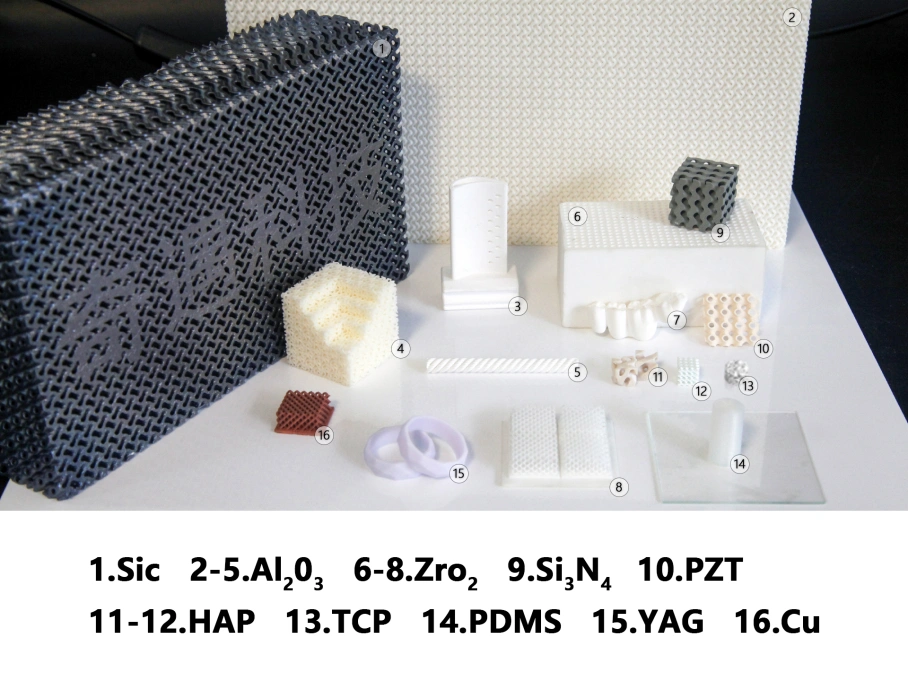
The ceramic slurry is the heart of the process. Depending on the application, we use advanced ceramic materials like zirconia (ZrO₂), alumina (Al₂O₃), or silicon carbide (SiC). The ceramic powder is mixed with a specialized photosensitive resin and thoroughly blended in a ball mill to ensure uniformity and fluidity. Proper slurry consistency is crucial for smooth and stable printing.
4. Printing Begins
Once the slurry is ready, it is poured into the printer’s resin tank. Using DLP light curing technology, the printer selectively solidifies each layer of ceramic material. After curing one layer, the build platform lowers, allowing the next layer to be printed. This process repeats until the entire model is complete.
Each layer is precisely cured using a digital light projection system, where controlling exposure time and intensity is key to ensuring accurate layer formation.
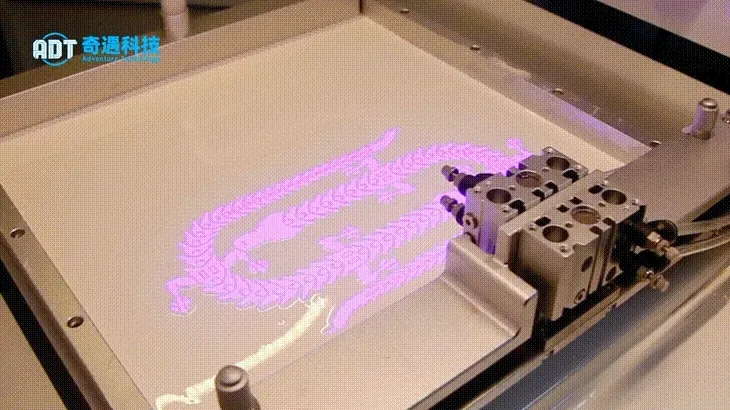
Note: DLP ceramic 3D printers come in two configurations—top-down (light source above the build platform) and bottom-up (light source below the build platform). This guide illustrates the top-down printing process.
Each layer is precisely cured using a digital light projection system, where controlling exposure time and intensity is key to ensuring accurate layer formation.
5. Cleaning the Printed Sample
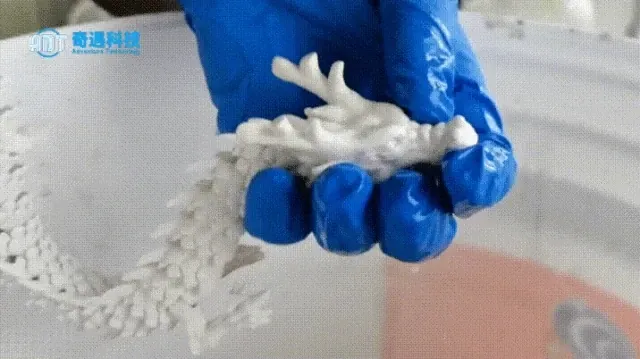
Once printing is complete, the model is carefully removed from the resin tank. At this stage, excess uncured resin and slurry residue remain on the model’s surface. The model undergoes an alcohol cleaning process, removing residual ceramic slurry and revealing the green body of the part.
For further refinement, the cleaned model is sometimes soaked in a specialized resin solution to enhance surface smoothness and internal structural stability.
6. Debinding & Sintering
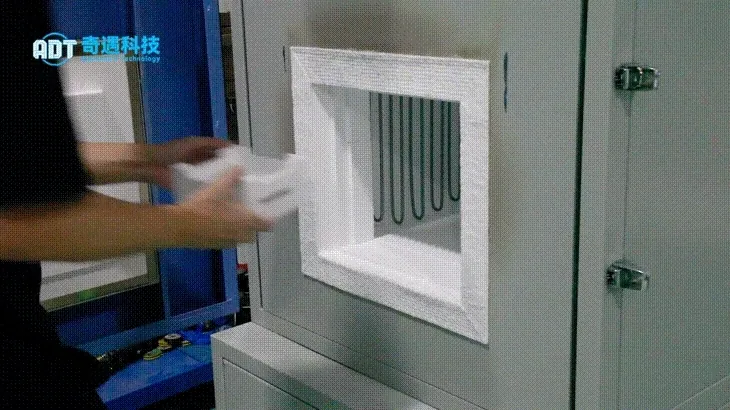
After cleaning, the green body undergoes debinding and sintering, the most critical step in DLP ceramic 3D printing.
ADT’s proprietary sintering process removes the organic binders (photopolymer resin) at high temperatures, leaving behind a fully densified ceramic structure. Sintering can take 3–4 days for larger samples, as controlled heating and cooling cycles are necessary to ensure material integrity.
After sintering, the ceramic part achieves high strength, excellent heat resistance, and exceptional chemical stability.
7. Post-Processing
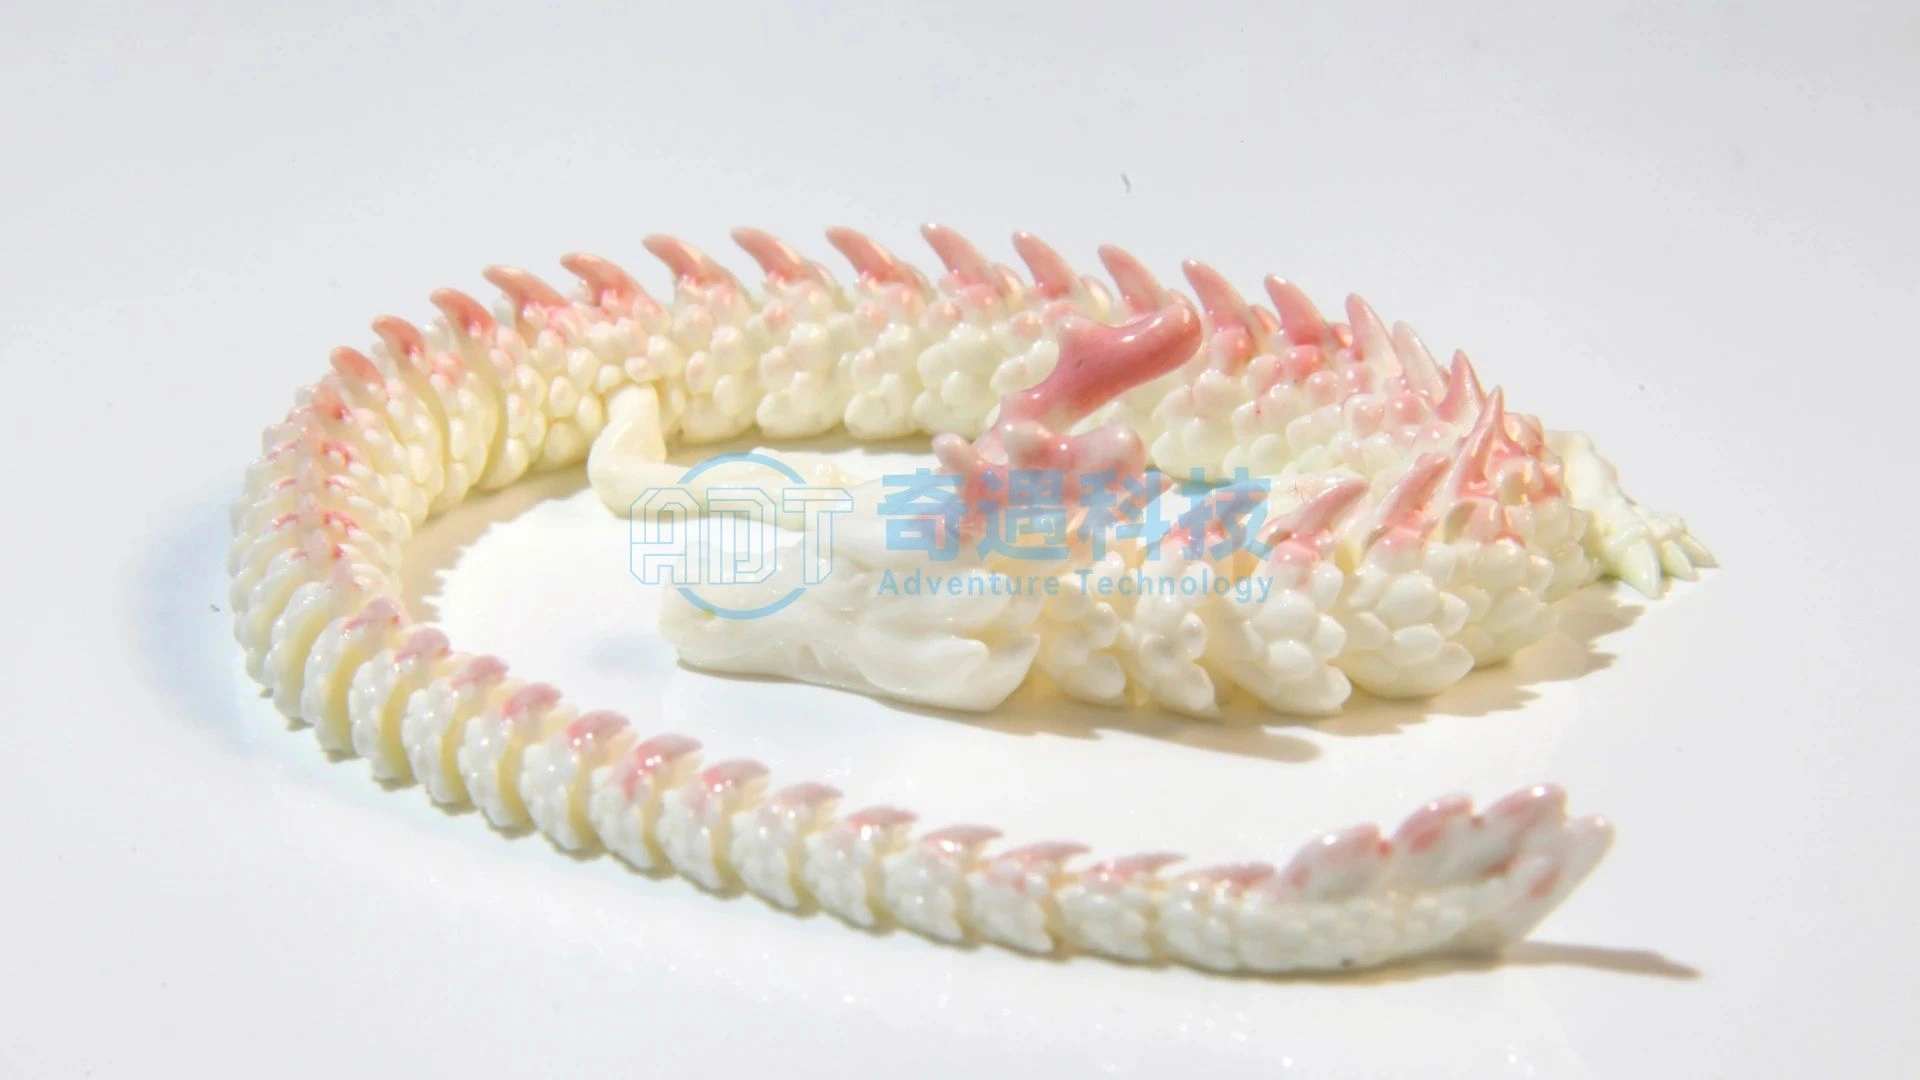
The sintered ceramic component may undergo additional surface treatments, such as grinding, polishing, or glazing, to enhance its aesthetic and functional properties. These finishing touches improve both durability and visual appeal.
Why Choose DLP Ceramic 3D Printing?
With DLP light-curing technology, ADT delivers high-quality, high-precision ceramic prints that push the boundaries of traditional manufacturing. This technique enables:
Micron-level details
Faster production times
Compatibility with a wide range of advanced ceramic materials
It’s particularly well-suited for industries like electronics, medical devices, and aerospace, where precision and material performance are paramount. As DLP ceramic 3D printing continues to advance, it is becoming a core technology in modern manufacturing.
Whether you’re in scientific research, industrial manufacturing, or artistic creation, our ceramic 3D prints can bring your vision to life.
Ready to Print? Let’s Get Started!
Upload your 3D model and place an order for ceramic 3D printing—contact us today!
Want to explore more materials? Check out our print case studies.
Already printed your masterpiece?
Share it with the world! Tag us on Twitter or Facebook to showcase your creation, and follow ADT!